Because of its delicious and spicy flavor, ginger is a versatile ingredient that can enhance the taste of various dishes. Not only that, with a long history as an herb, ginger also possesses antibiotic and anti-inflammatory properties, making it beneficial for human health. Purchasing ginger can be expensive, which is why growing your own is highly recommended.
Fortunately, there are several spices that thrive in containers right at home, and ginger happens to be one of them. Growing ginger in pots is a cost-effective and intriguing way to have a continuous supply in your home throughout the year. Interested in learning how to grow ginger indoors and in pots? Keep reading!

Step 1: Choose the Right Ginger Roots
Choosing the right ginger roots is crucial for a successful cultivation process. Look for ginger with shiny, tight skin, as this indicates freshness. Ideally, seek out roots with bumpy buds at the tips, a sign of vitality.
Choose smaller sizes, and if dealing with larger ginger, consider cutting sections for planting. Before planting, ensure to disinfect these sections with lime, promoting a healthy growing environment.
Organic ginger is recommended due to its avoidance of chemical treatments that hinder sprouting. In case you only have regular grocery store ginger, soaking it in water for several hours or overnight is essential to eliminate potential chemicals.

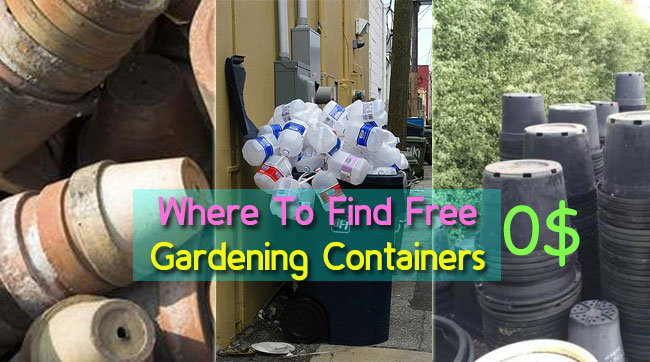
Step 2: Select a Pot or Container
The choice of a suitable pot or container plays a crucial role in the successful growth of ginger.
Since the container might serve as indoor decoration, pick one that aligns with your aesthetic preferences.
Make sure the selected container is deep, wide, and equipped with proper drainage.
This is particularly important as a small thumb-sized ginger chunk can mature into a 36-inch (91 cm) plant at full growth.
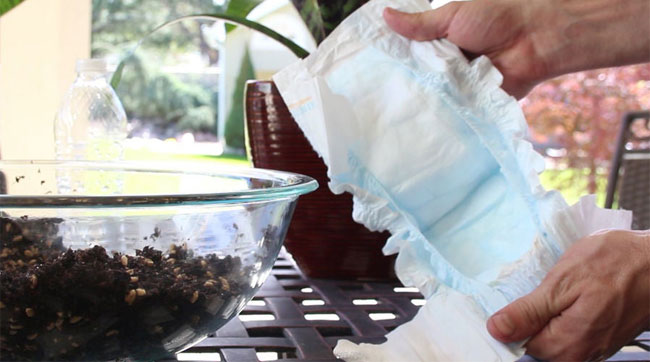
Step 3: Prepare The Soil
Creating the right soil mix is vital for ginger cultivation. Sandy soil is preferred due to its excellent drainage, ease of cultivation, and faster warming in spring.
A recommended solution is to mix garden soil with an equal amount of well-rotted compost, providing essential nutrients and promoting optimal growing conditions.
Step 4: Plant the Ginger
The planting process requires attention to detail. Plant each ginger piece 2–4 inches (5–10 cm) below loose soil, ensuring the buds face upward into the soil.
Cover the root with 1 to 2 inches (2.5-5 cm) of soil, striking a balance between protection and exposure. Lightly water the planted ginger and place the pot in a warm location, setting the stage for successful germination.

Step 5: Care for Ginger in Pots
Caring for your growing ginger plants involves monitoring their environment. Expect young plants to emerge in about one month, indicating successful germination.
Ginger thrives in partial shade, so ensure the root is exposed to indirect sunlight. Avoid windy or direct sun conditions, as they can hinder growth.
Maintain proper watering practices, keeping the potting mix consistently moist without allowing it to become soggy.
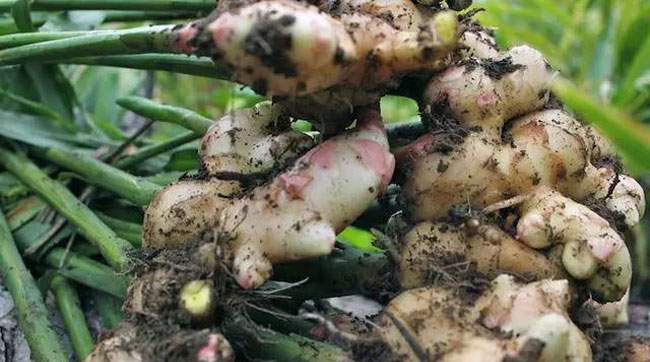
Step 6: Harvest Your Food
The final step in the ginger cultivation journey is the harvest.
While mature ginger typically takes eight to 10 months to develop, you can start harvesting baby ginger in 3-5 months after sprouting.
Harvest small rhizome pieces at a time by pulling off a section of the plant. Always use a sanitized knife for cutting to prevent any damage and ensure a continuous and healthy supply of ginger from your home cultivation efforts.